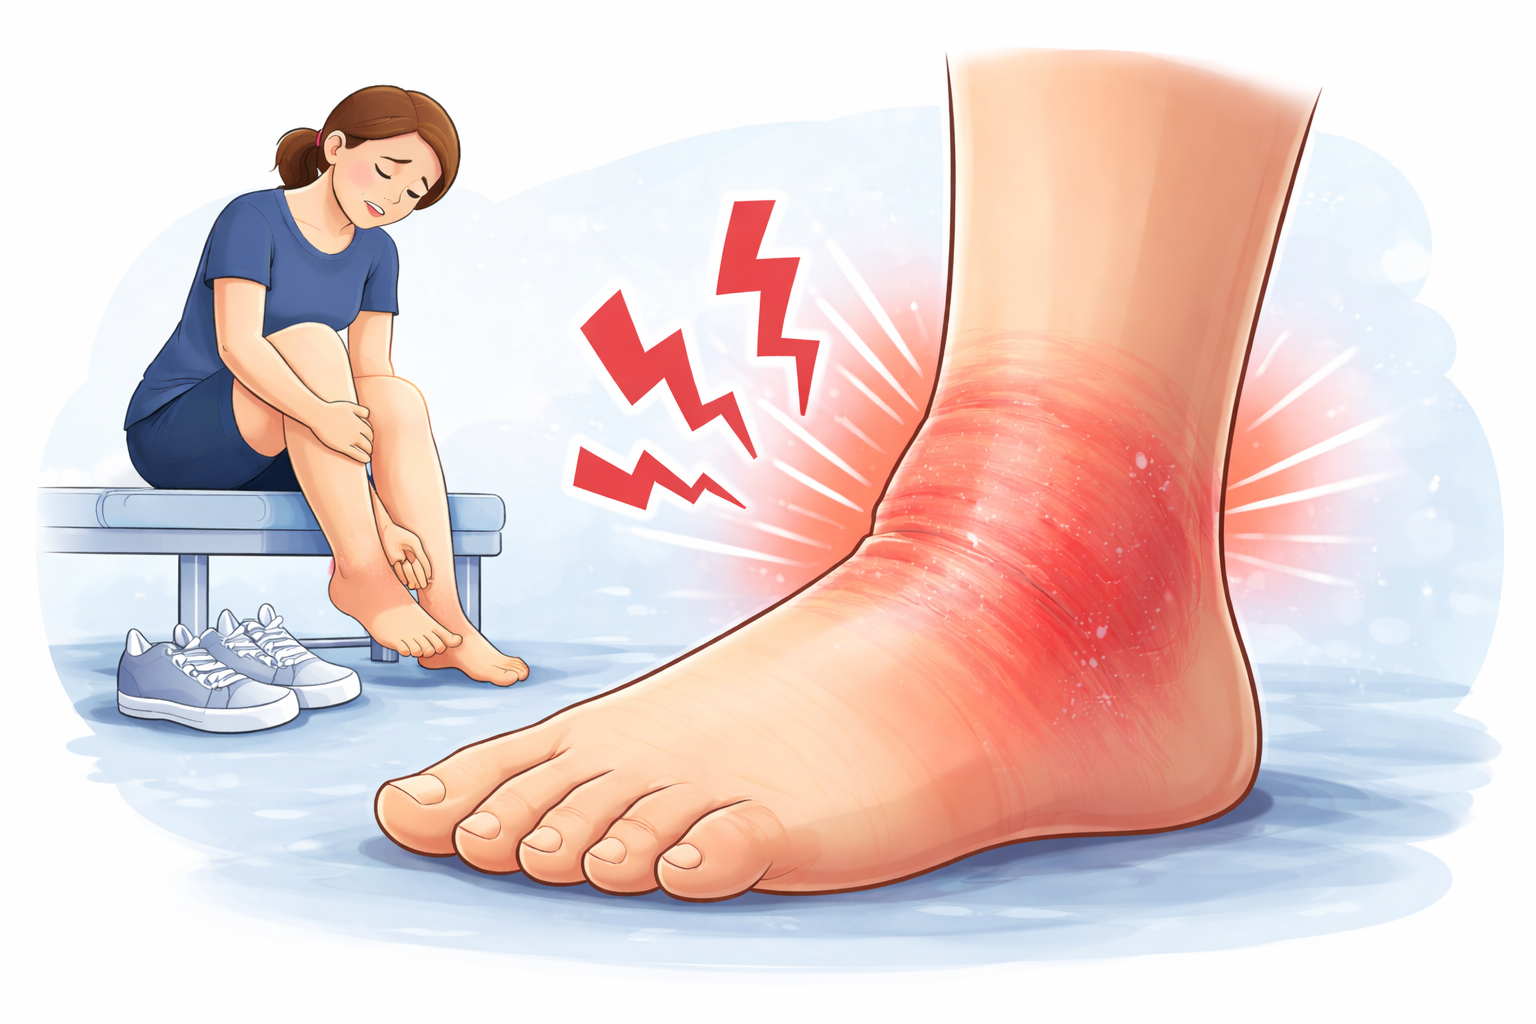
Understanding When to Tape a Broken Toe
When to Consider Taping a Broken Toe
Taping a broken toe is most beneficial for minor fractures resulting from stubbing your toe or dropping something heavy on your foot. This method is ideal for stabilizing fractures in smaller toes like the pinky toe, though it can be used for any toe injury. The primary purpose of taping is to immobilize the bone, allowing it to heal properly.
Which Toes Are Best for Buddy Taping?
For buddy taping, the injured toe should be taped to the adjacent healthy toe. For instance, if your pinky toe is broken, it should be taped to the next toe. This method provides the necessary support to prevent movement and minimize pain.
When Not to Tape a Broken Toe
If the toe is severely dislocated, crooked, or if there’s an open wound, avoid taping it and seek medical care instead. Taping should not be done if the toe needs repositioning or if there are signs of a more serious injury.
How Taping Aids Healing
Taping helps by keeping the fractured toe in place, preventing it from moving, which is essential for proper recovery. This immobilization allows the bones to align and heal, reducing the risk of further injury.
Essential Supplies for Taping a Broken Toe
Before starting the taping process, gather the following items:
Medical tape (skin-friendly, non-irritating)
Cotton or gauze padding (for comfort and protection)
Scissors (to cut the tape to size)
3pp Toe Loops (optional, provides additional protection)
Medical Tape: Why It’s Important
Medical tape is crucial because it is designed specifically for use on the skin. Unlike standard adhesive tapes, medical tape is gentle and won’t cause irritation, allowing it to be used safely for extended periods.
Gauze or Padding for Skin Protection
Padding between the toes prevents skin irritation or blisters caused by friction. Cotton gauze, foam, or a soft material can be placed between the injured and healthy toe for additional comfort.
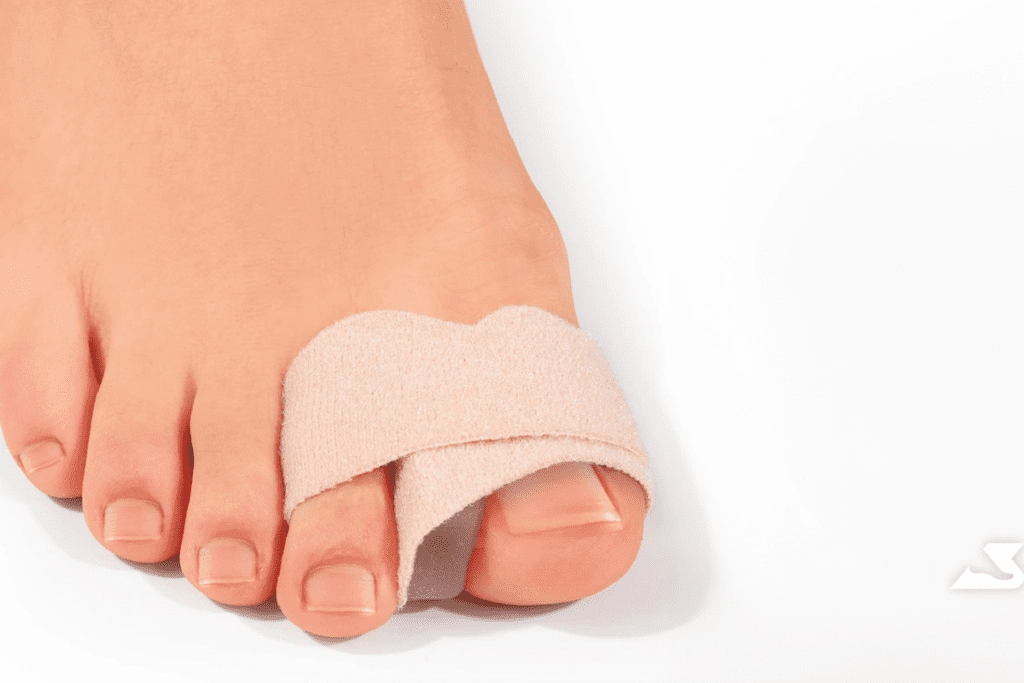
Using 3pp Toe Loops as an Alternative
If you’re looking for a less traditional option, 3pp Toe Loops are great. They are easy to apply, comfortable, and reduce skin irritation while providing the necessary support for healing.
Step-by-Step Guide on How to Tape a Broken Toe
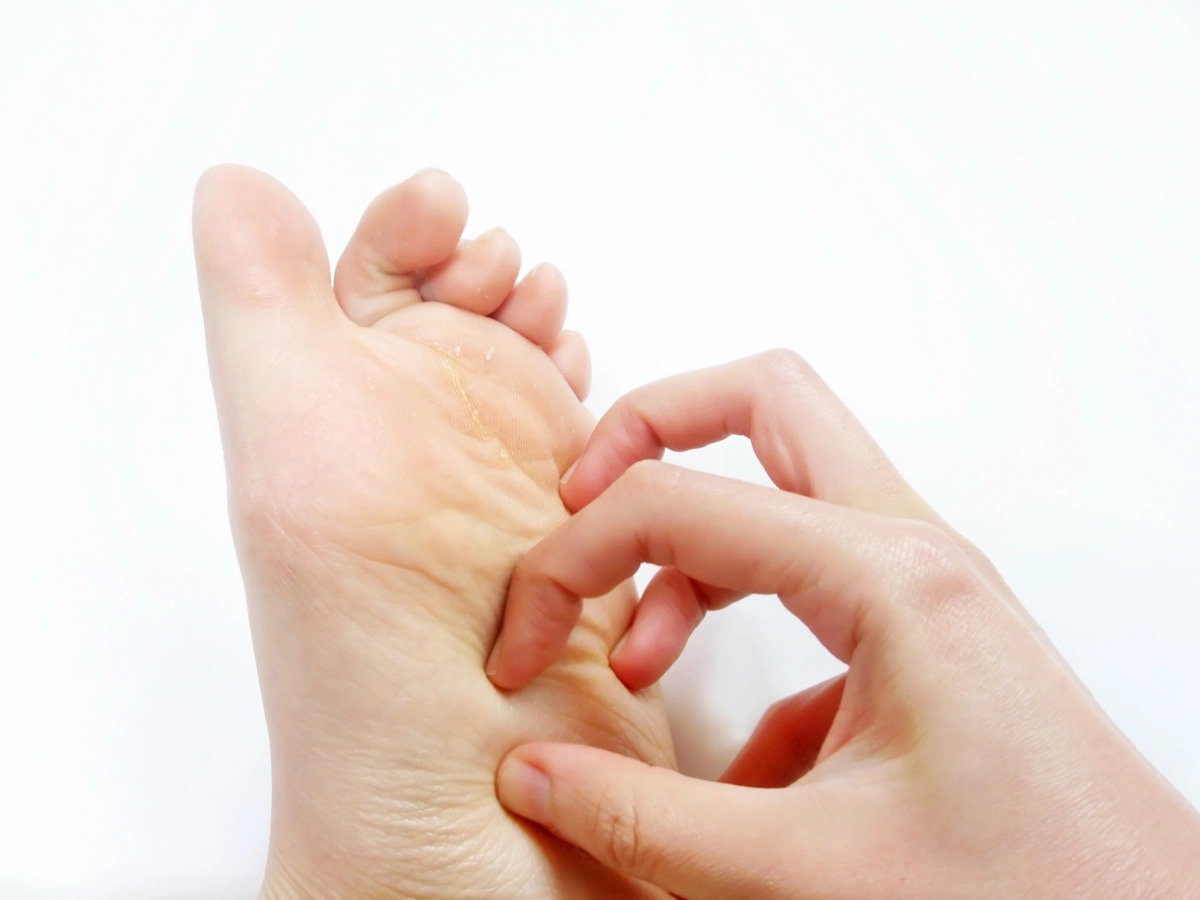
Preparing the Toe
Before taping, thoroughly clean the injured toe to prevent infection:
1. Clean the toe with soap and water.
2. If there are any cuts or abrasions, use an antiseptic wipe.
3. Dry the toe completely before starting the taping process, as moisture can affect the tape’s adhesion.
Applying Padding
1. Insert a small piece of cotton or gauze between the injured and adjacent healthy toe.
2. Ensure the padding is snug but not tight to prevent skin friction.
3. Proper padding helps maintain circulation while keeping the toes comfortable.
Taping the Toes Together
1. Gently place the injured toe next to the healthy toe.
2. Wrap the medical tape around both toes near the base. Be careful not to make the tape too tight, as it can cut off circulation.
3. Wrap the tape two to three times around the toes, ensuring the padding stays in place.
4. Make sure the toes are secured but can still move slightly, as too much restriction may cause discomfort.
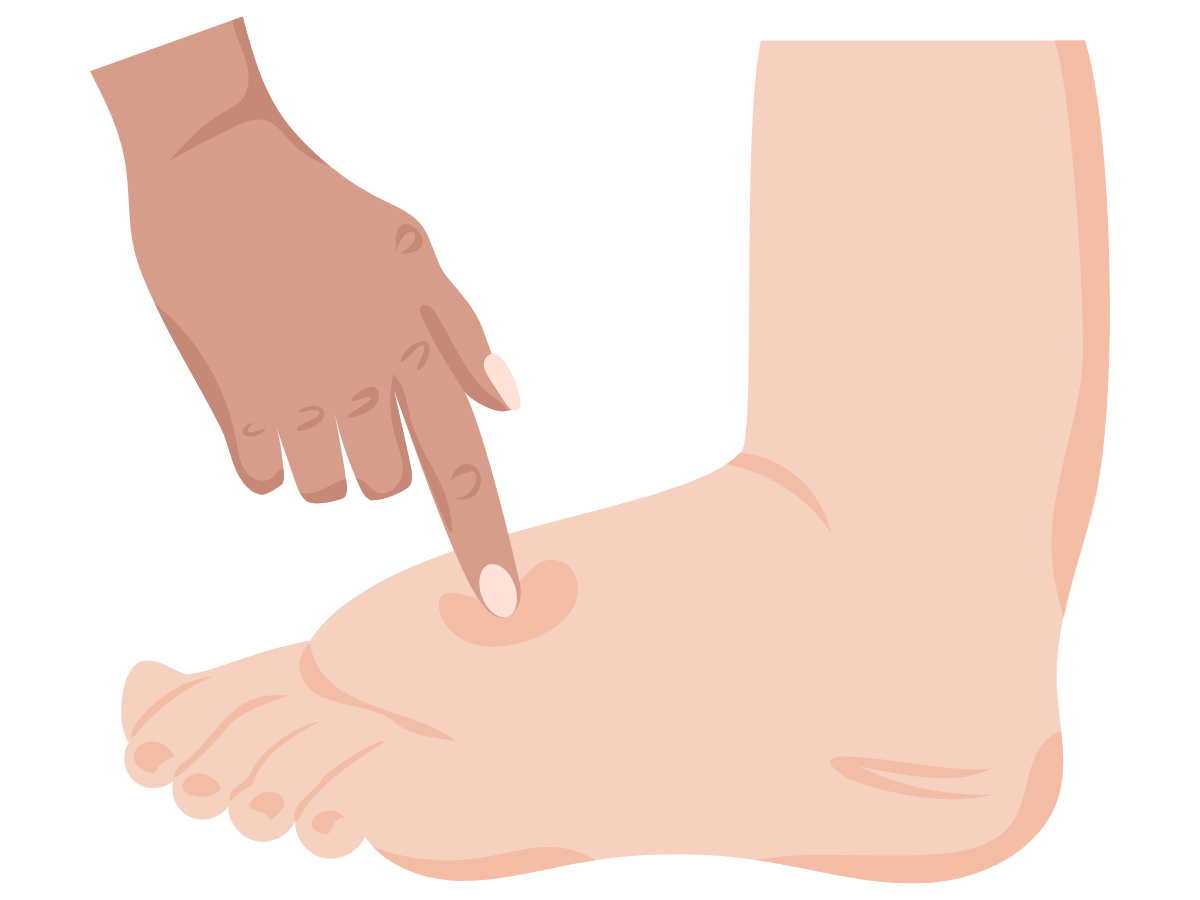
Checking for Circulation
After taping, press on the tips of the toes to check for proper circulation. The toe should return to its normal color quickly. If not, adjust the tape to loosen it slightly.

Post-Taping Care and Long-Term Recovery
Immediate Care After Taping
Once taped, it’s essential to take the following post-taping steps to ensure optimal recovery:
1. Ice the toe for 20 minutes every hour for the first 24 hours to reduce swelling.
2. Elevate the foot above heart level to decrease swelling and pain.
3. **Limit weight-bearing activities** to avoid stressing the broken toe.
Managing Pain and Swelling
Over-the-counter pain medications like ibuprofen or acetaminophen can be helpful in managing pain and inflammation. Avoid using heat packs, as they can worsen swelling in the initial stages of recovery.
Avoid Common Mistakes
1. Do not tape too tightly—ensure proper blood circulation.
2. Never tape directly on skin—always use padding to prevent blisters.
3. Monitor the injury—look for signs of infection such as redness, warmth, or discharge.
When to Seek Medical Help
If symptoms worsen or the toe appears crooked, seek medical attention. Other warning signs include fever, chills, red streaks on the toe, or numbness in the injured area.
Choosing the Right Footwear for Recovery
During the healing process, wear stiff-soled shoes that protect the toe from unnecessary movement. Special post-op shoes or walking boots can also help provide extra support.
Common Questions About Taping a Broken Toe
How long does it typically take for a broken toe to heal?
A broken toe typically takes around four weeks or more to heal, depending on the severity of the fracture and the level of care during the healing process.
What should I do if my toe appears crooked or has a visible deformity?
Seek immediate medical attention if your toe appears crooked or has a visible deformity, as it may require professional medical care for proper healing.
Can I use regular tape to buddy tape my broken toe?
No, it’s best to use medical tape designed for skin to buddy tape a broken toe, as regular tape may not offer adequate support and could irritate the skin.
How can I manage pain and swelling after taping my broken toe?
You can manage pain and swelling after taping your broken toe by icing the toe, elevating the foot, resting, and taking over-the-counter pain relief medications like ibuprofen or acetaminophen.
What kind of footwear should I use during the recovery of a broken toe?
You should wear stiff-soled shoes or a walking boot during the recovery of a broken toe to protect and support the toe. Consider post-operative shoes with a wide toe box for added comfort.